Substation: Installation and Help
Contents
Introduction to Substation
I built this theme to enable newsletter-first publications on Ghost.
Newsletters (free and paid) are becoming more popular, and in response Ghost now has built-in member and email newsletter features. This allows you to send out new content to subscribers every time you publish, along with premium content features and subscriber log-ins.
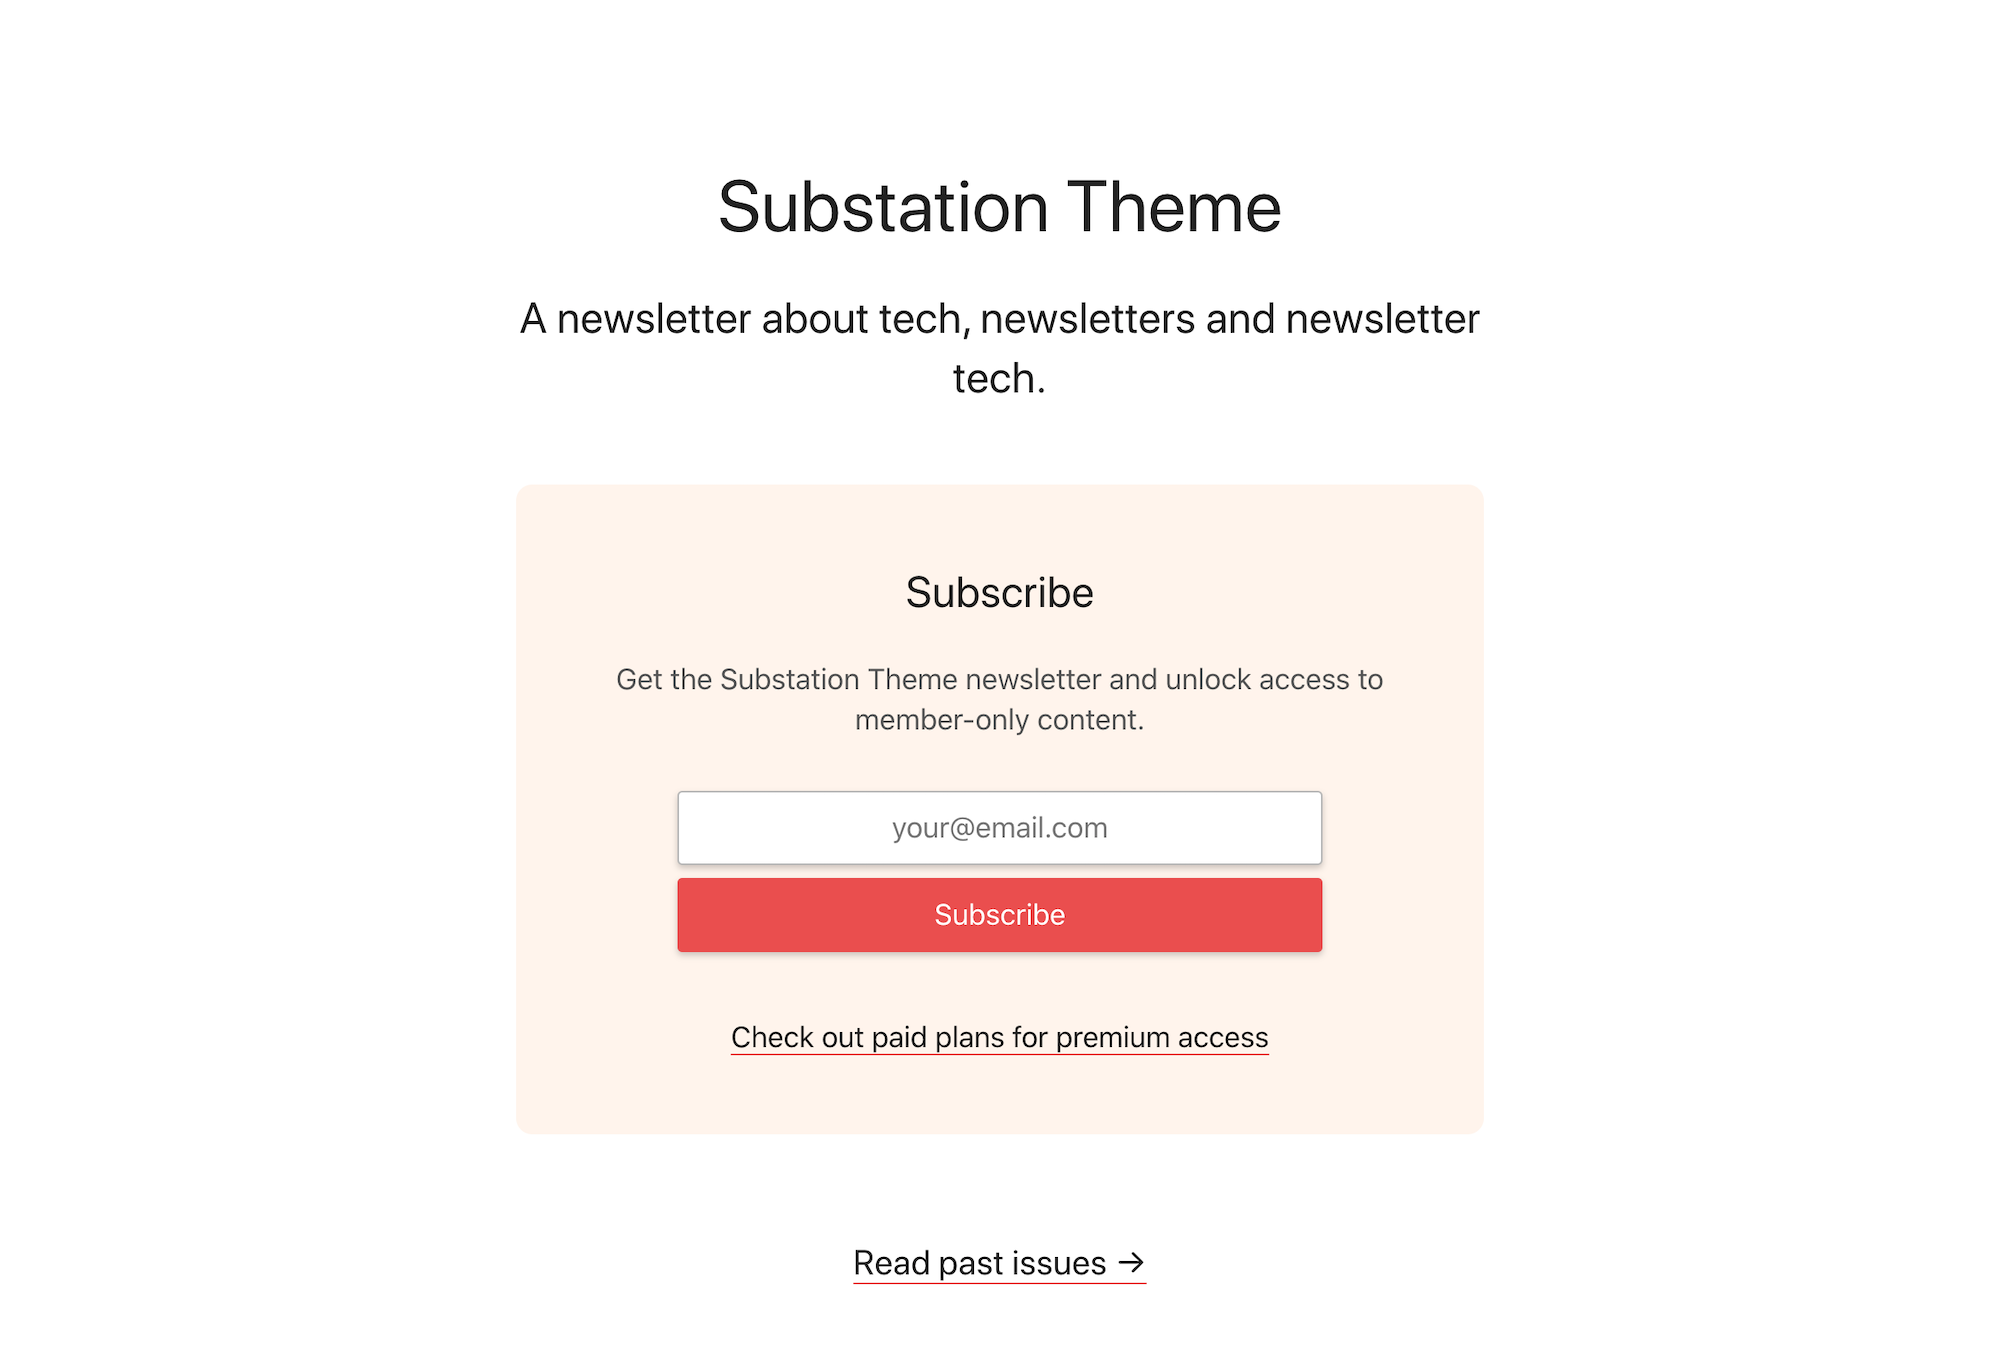
Most Ghost themes are great for normal blogs but Substation puts your newsletter first. The homepage displays a simple subscription box, with posts listed in an archive page. Members are fully supported, so you can lock content from non-members or put your content behind a membership paywall.
💬 If you have any questions, please email me or DM on Twitter.
⭐️ I offer an installation and upgrade service for Ghost. If you need help getting set up, please check out Gloat.
Cheers!
👉 I wrote a blog post about Substation:
How to build your own Substack with Ghost and Cove
A brief overview of Substation
- the homepage is a simple subscription box and introduction
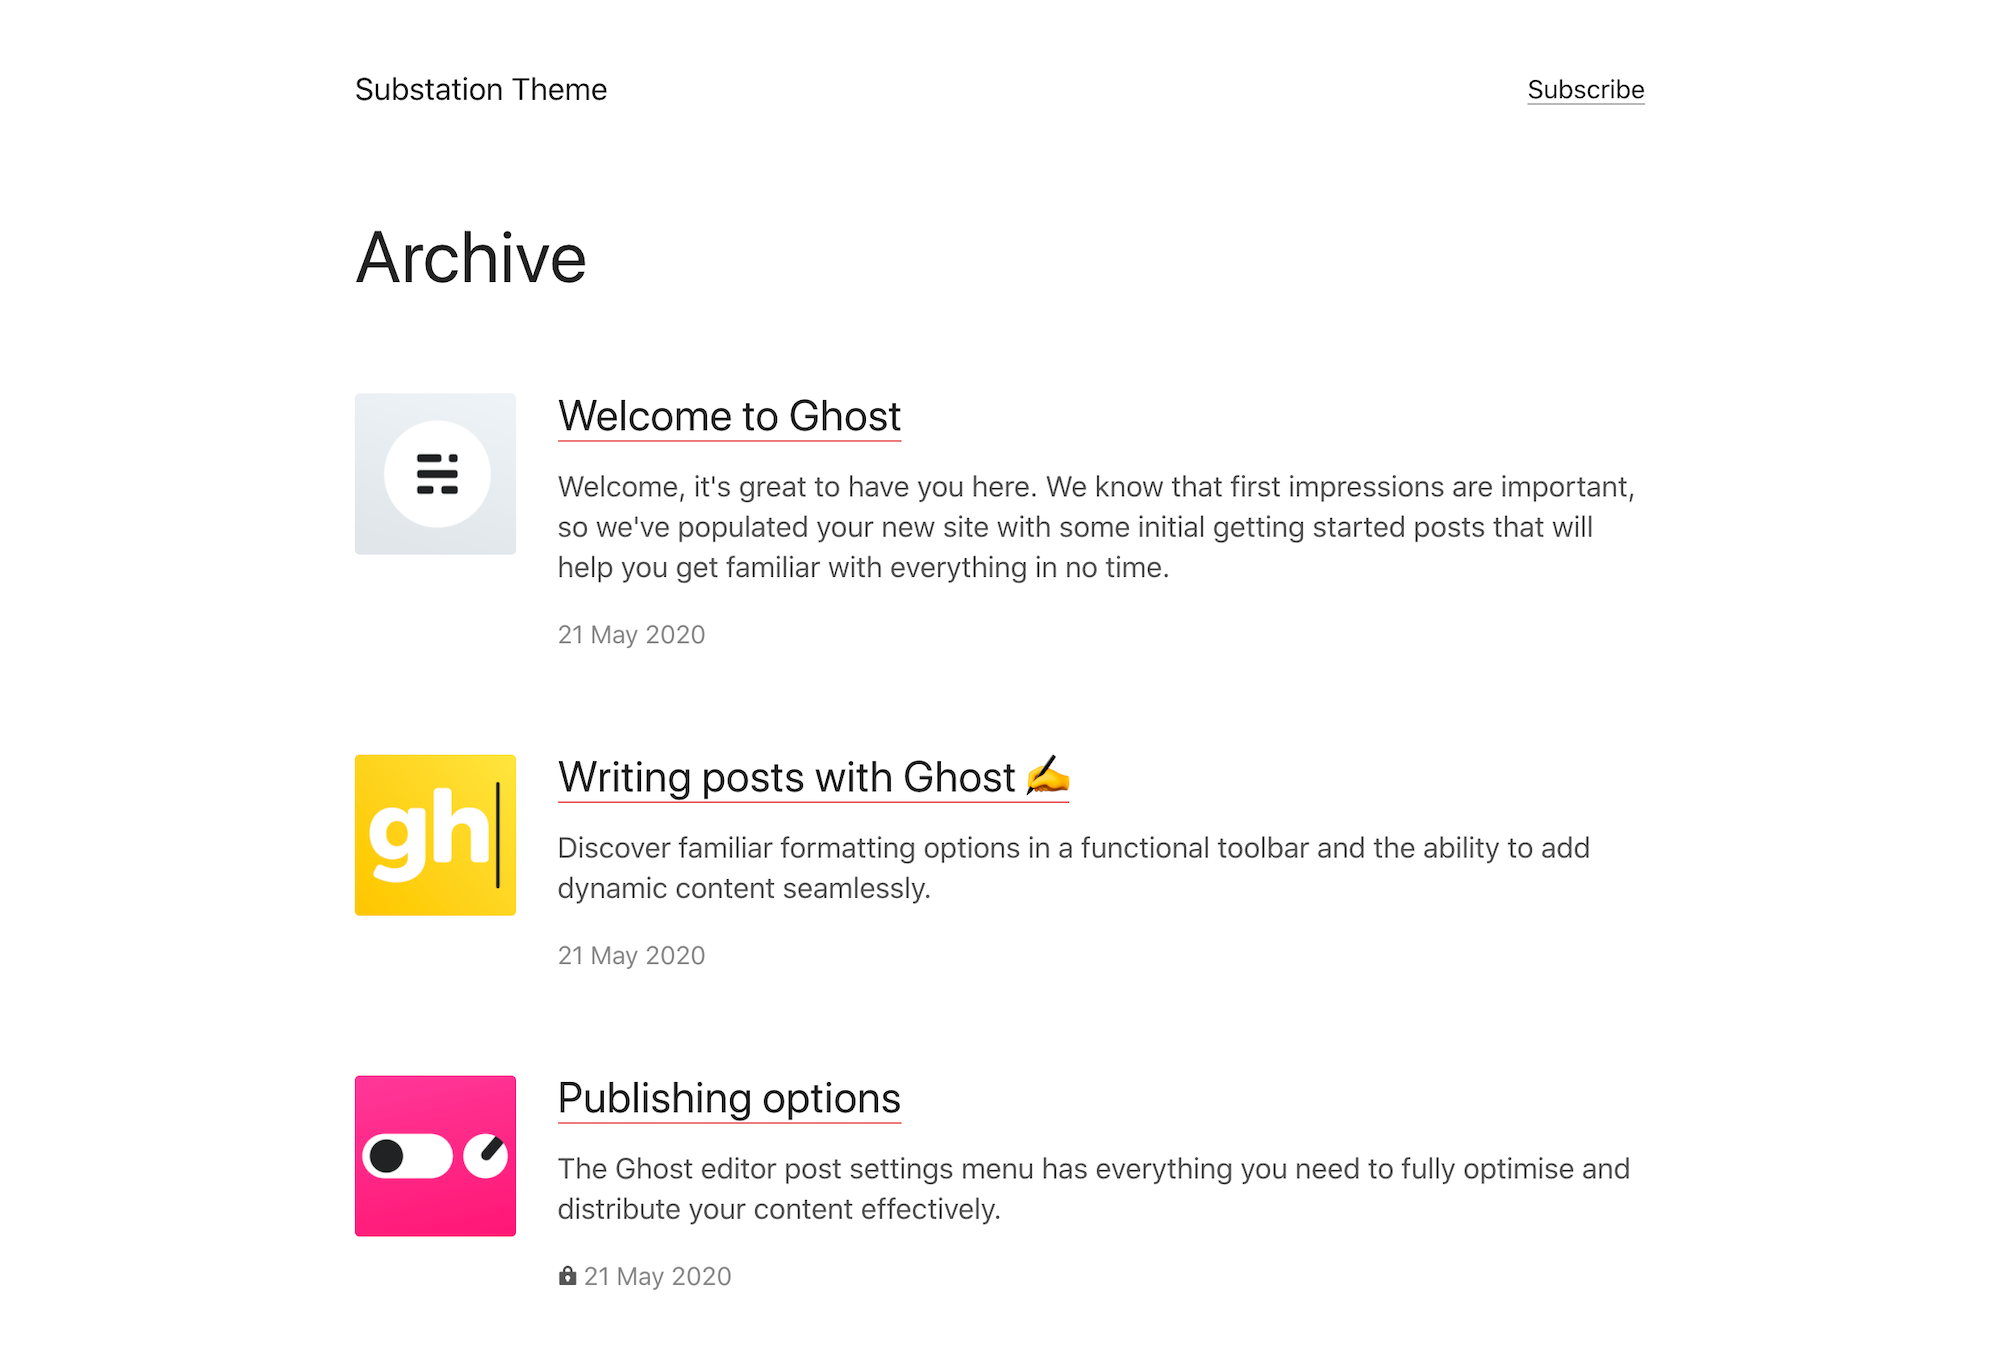
- the full archive of posts is shown at /archive/
- supports free and paid memberships
- customisable post list: easily show or hide excerpts, authors and tags
- lock and unlock icons reflect current user's access
- built-in optional commenting with Cove
Buy Substation
Substation is priced at $39.
Deal: Every $39 (or above) purchase of Substation comes with a $20 voucher for Cove, the commenting tool built into the theme. This is redeemable once you start a paid Cove plan ($5 or $10/month).
Get Ghost and Substation set up for you for a one-off fee of $89 via my Ghost installation service, Gloat. (Gloat and Substation are charged separately)
Installation
There are a few required steps to complete to install Substation. This includes setting up Ghost Members and adding menus.
Make sure to upload Substation in Ghost (Design > Upload theme) and complete the following steps.
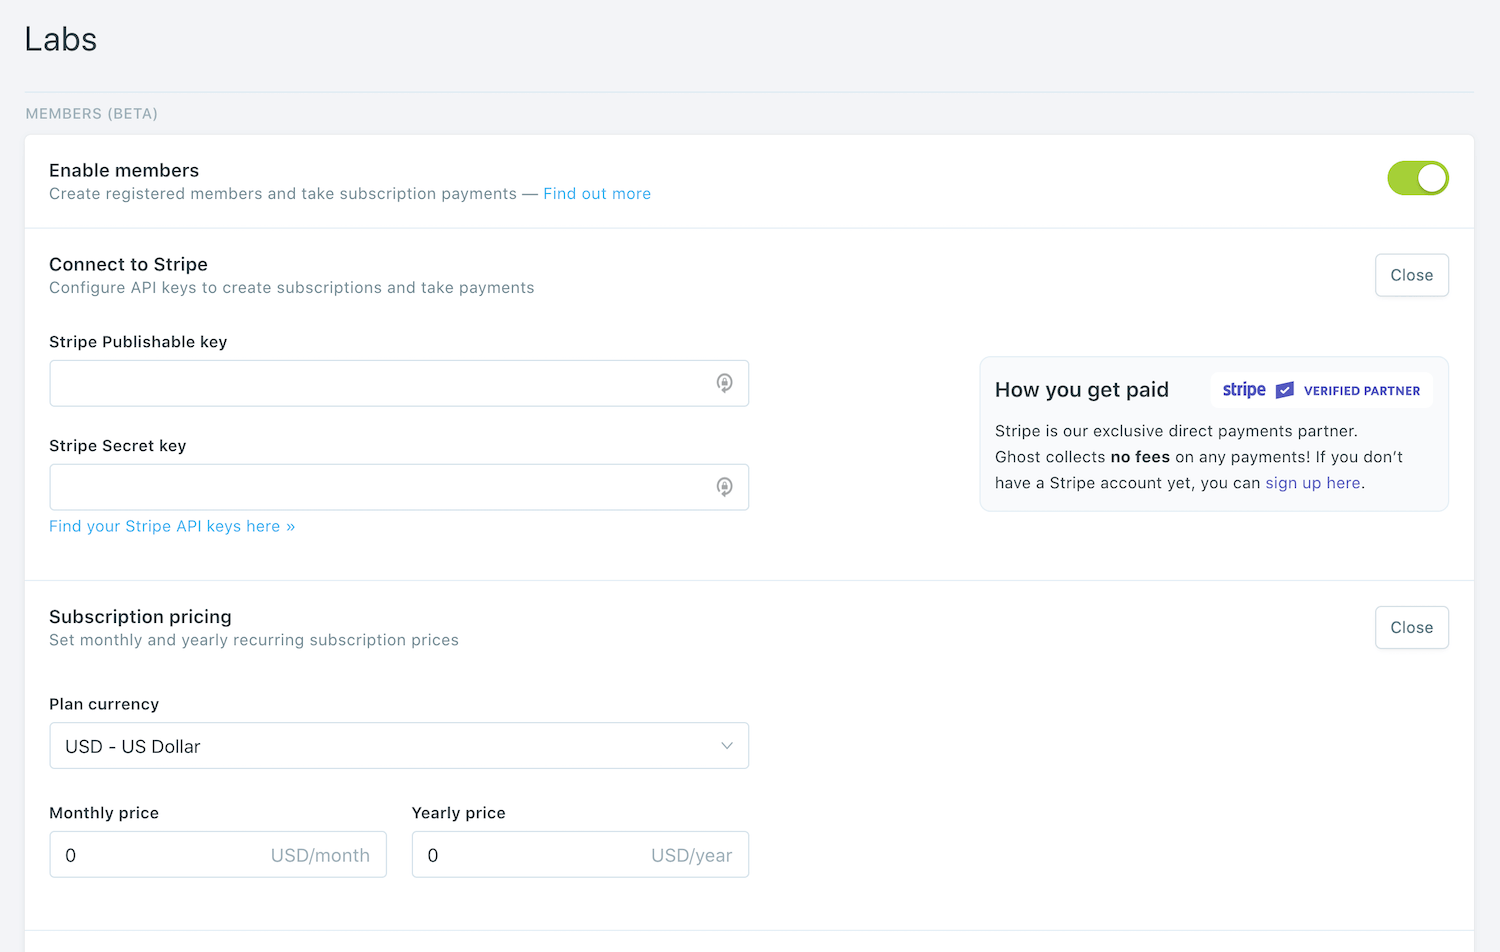
Enable Ghost Members
This step is required in order to allow subscriptions to your newsletter. Members also enables member-only content in Ghost.
Go to Labs and toggle "Enable Members".
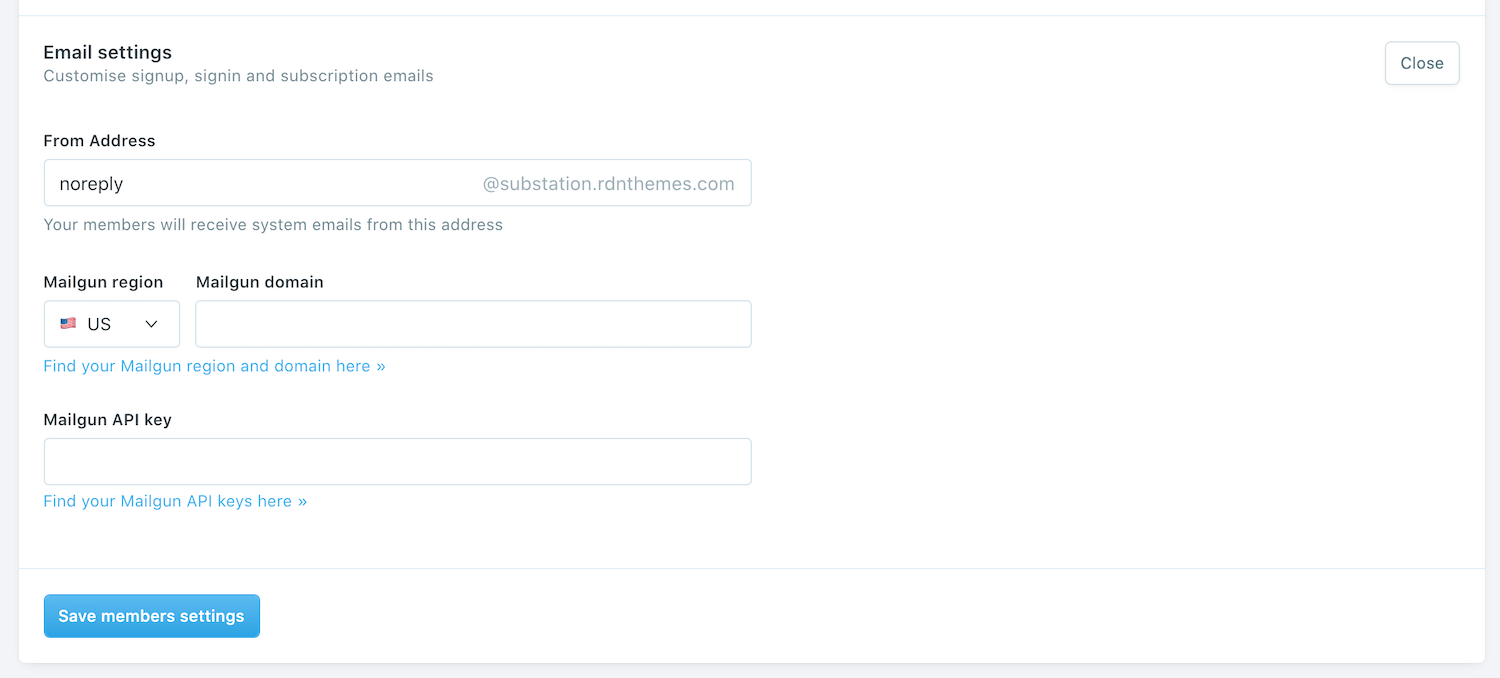
Set up emails with Mailgun
If you are using Ghost(Pro), email is already set up for you.
For self-hosted sites, to enable newsletters, you must sign up to Mailgun and connect it to your Ghost site. Currently only Mailgun is supported in the Members Beta.
Once you have created a Mailgun account, grab your Mailgun domain and API key and paste them into the fields in Labs > Email settings. Make sure the region also matches.
Add a site name, description and (optional) logo
Go to the General page in Ghost.
Your site name and description are shown on the homepage. The site name is also displayed in the site header and footer.
If you add a logo using "Publication logo", it will displayed in place of the your site's name on the homepage and in the site header.
Upload the routes.yaml file
The routes.yaml file will add some new URLs to your site. These are required in order to display sign in, subscribe and member account pages on your site.
The file is included in your theme folder. You must upload it into Ghost in Labs > Routes. Once it's uploaded, your site will have new pages automatically added.
Add menus
Substation comes with intelligent menus, which hide and show the different links depending on if members are logged in or not.


For this to work, add the following links with these specific names:
- Archive
/archive/ - Subscribe
/subscribe/ - Account
/account/ - Sign in
/signin/
The Subscribe and Sign in links will be hidden when a member is logged in; the Account link is hidden when a member is logged out. The Archive link is always visible.
The intelligent menu works in both the main navigation (shown in the header) and secondary navigation (shown in the footer)
Please note that you are free to use whatever you like in the menus!
You're done!
Substation is now fully set up.
If you want to add paid memberships, comments or tweak your site's design, read on for customisation options.
Customisation
Below are different customisation options you have to tweak Substation to your needs.
Enable paid plans
If you want to charge for content, get the API credentials from your Stripe account (create a new one if you don't have one). Enter these on the Labs page in Ghost ("Connect to Stripe" section).
Then add your monthly and yearly pricing options ("Subscription pricing" section). Full pricing tiers are not yet supported by Ghost.
Show paid plan details on /subscribe/
By default, the Subscribe page shows a simple subscribe form.
If you offer paid memberships, you can display more details beneath the form to help inform potential customers of your premium plans:
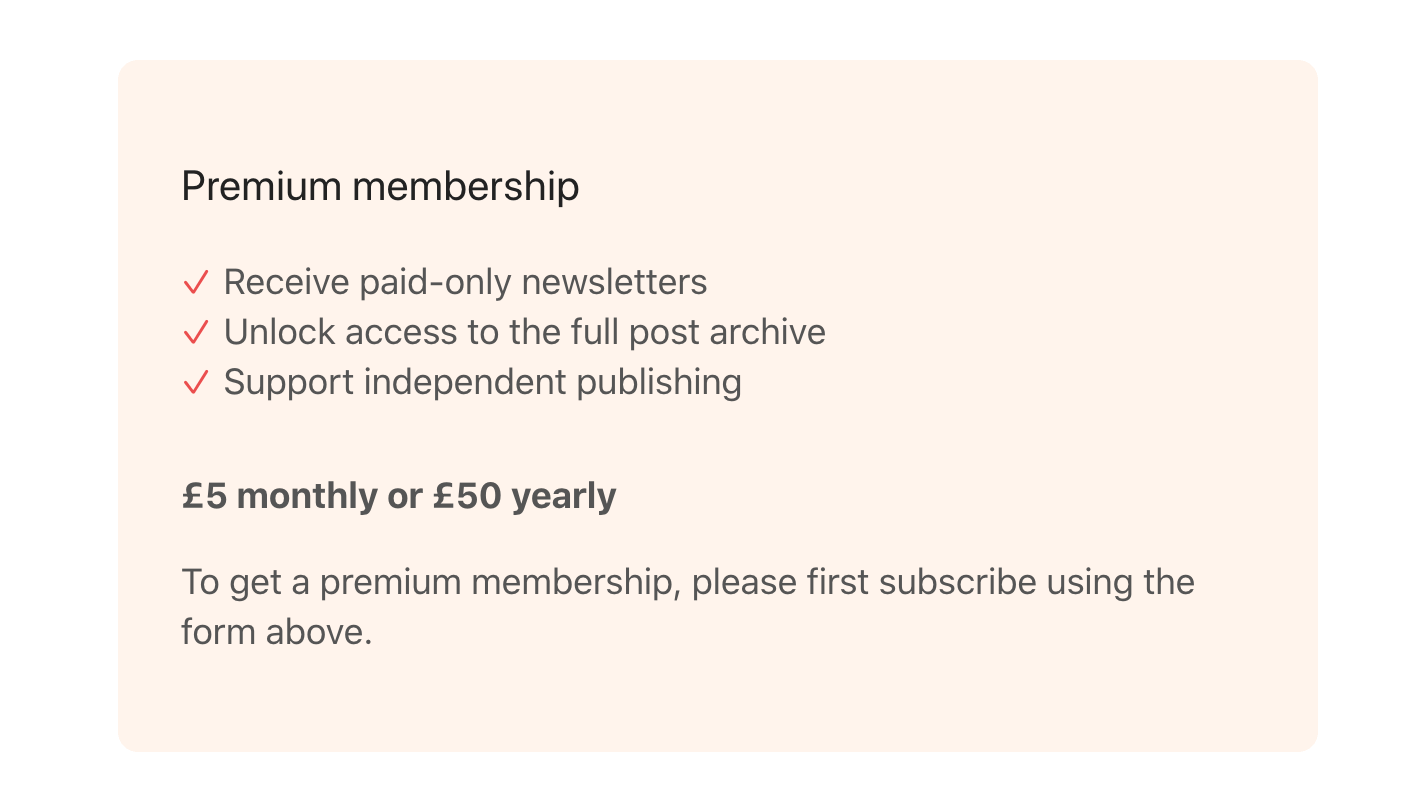
To show this, edit line 29 of members-signup.hbs from {{!-- {{> plans}} --}} to just {{> plans}}.
You can also edit the information that is displayed in this box by editing partials/plans.hbs.
Remember to ZIP and re-upload the theme.
Show paid plan details on /account/
If you sell paid memberships, you have to uncomment a section on the account page so that your members can sign up to a paid plan.
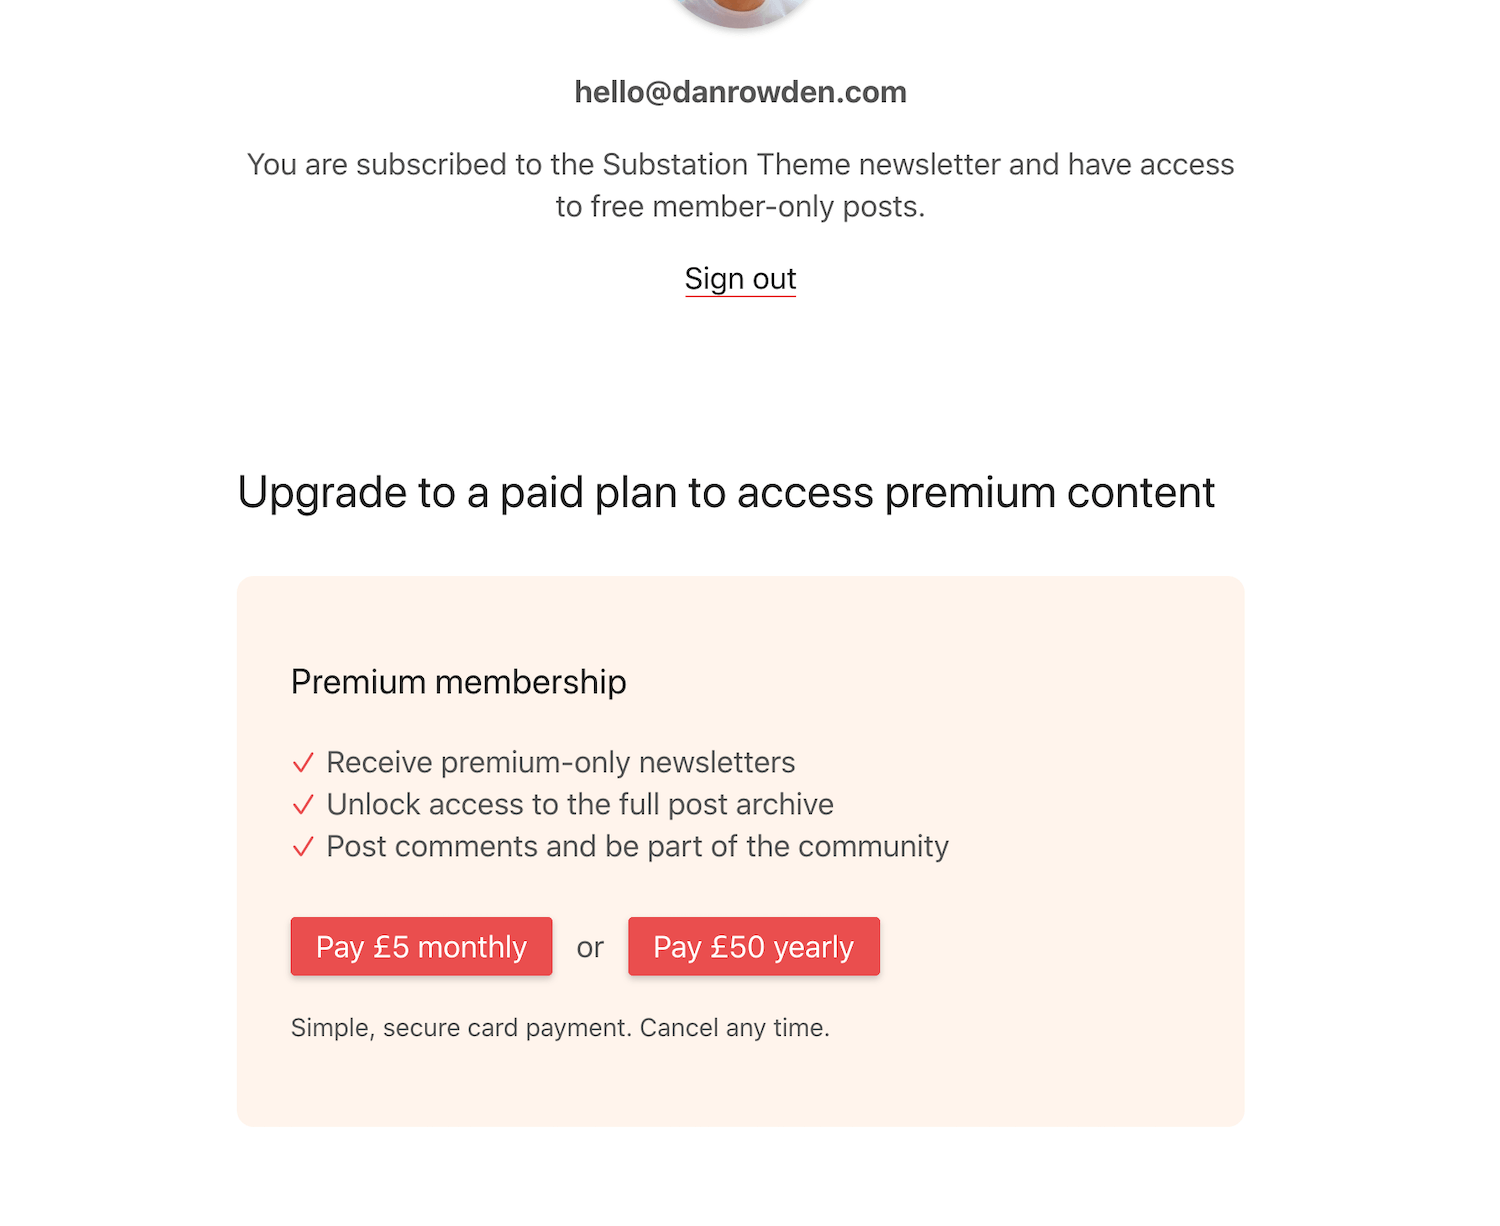
Look for the following code on starting on line 87 of members-account.hbs:
{{!--
<div class="mt6" id="plans">
<h2>Upgrade to a paid plan to access premium content</h2>
{{> plans show_buttons=true}}
</div>
--}}
Remove the first and last line of this code block (the {{!-- and --}})
Remember to ZIP and re-upload the theme.
Edit Stripe checkout
You can add your logo and edit colours of your Stripe checkout at dashboard.stripe.com/settings/branding
Edit the /archive/ URL
If you want to change this URL, you have to update a number of files.
- Edit your
routes.yamlfile, changing all three instances of/archive/to your desired URL path (eg./posts/). Make sure to re-upload the file back into Ghost. - Edit the link on line 36 of
home.hbs - Edit the link on line 12 of
members-signin.hbs - Edit the link on line 69 of
partials/notifications.hbs
Remember to ZIP and re-upload your theme folder.
Show the archive page as your homepage
This just requires a quick change of your routes.yaml file. You have to remove the / block at the top of the routes section and edit the URLs in the collections section, like this:
routes:
  /subscribe/:
    template: members-signup
    # Uncomment the next line if you want to show the title and content from your "/subscribe/" page
    # data: page.subscribe
  /signin/: members-signin
  /account/: members-account

collections:
  /:
    permalink: /{slug}/
    template: index

taxonomies:
  tag: /tag/{slug}/
  author: /author/{slug}/
Important: making this change will totally remove the default home page.
Download the file to your computer (from the Labs page in Ghost), make the change and then re-upload it.
Add custom content to the home page
Add a new page in Ghost with the slug /home/. The content from this page will be shown between your site's tagline and the subscribe form on the homepage.
You must also edit your routes.yaml file by uncommenting line 5 (delete the preceding # symbol) and re-uploading it into Ghost.
Add comments to your posts
Substation comes with Cove comments already installed. By default they are disabled but it's easy to enable them.
- You need the Substation theme folder on your computer. You can download it again from the Design page in Ghost if you have already installed it, or use the file you got after purchasing.
- Create a new Integration in Ghost (Integrations > Add custom integration).
- Go to cove.chat, sign up and create a new account. You will need the "Content API Key" from the integration created in the previous step.
- Instead of following the installation guide, just copy the bold publication ID and paste it into the
partials/comments.hbsfile in your theme folder to replaceYOUR_COVE_ID. - Open
partials/post-content.hbsand change line 103 from{{!-- {{> comments}} --}}to just{{> comments}}.
Cove is now set up! Remember to ZIP and re-upload the theme folder.
Change comment visibility
There are three different ways to show comments in Substation and there is a template partial for each. Just substitute the correct file in partials/post-content.hbs on line 103.
{{> comments}}
On free posts, all visitors can view the comments (even non-members).
On member-only posts, signed-in members can view comments.
On paid-only posts, signed-in paying members can view comments.
Any signed-in member can leave comments.
{{> comments-membersonly}}
On free posts, comments will not be shown.
On member-only posts, signed-in members can view comments.
On paid-only posts, signed-in paying members can view comments.
Any signed-in member can leave comments.
{{> comments-paidonly}}
On free posts, comments will not be shown.
On member-only posts, comments will not be shown.
On paid-only posts, signed-in paying members can view comments.
Only signed-in paying members can leave comments.
Add custom content to the Subscribe page
Add a new page in Ghost with the slug /subscribe/. The content and title from this page will be shown above the subscribe form on the Subscribe page.
You must also edit your routes.yaml file by uncommenting line 9 (delete the preceding # symbol) and re-uploading it into Ghost.
Edit post layout on the post list
Substation comes with customisation for the main post lists. This list is shown in three different templates: Archive (index.hbs), author profile pages (author.hbs) and a tag page (tag.hbs). You can style the list differently on each page if you want, or keep them consistent.
The default in each template is:
{{> "post-card" show_excerpt=true show_tag=false show_authors=false}}This means that the thumbnail (if a post has one) the title, excerpt and date is shown, like this:
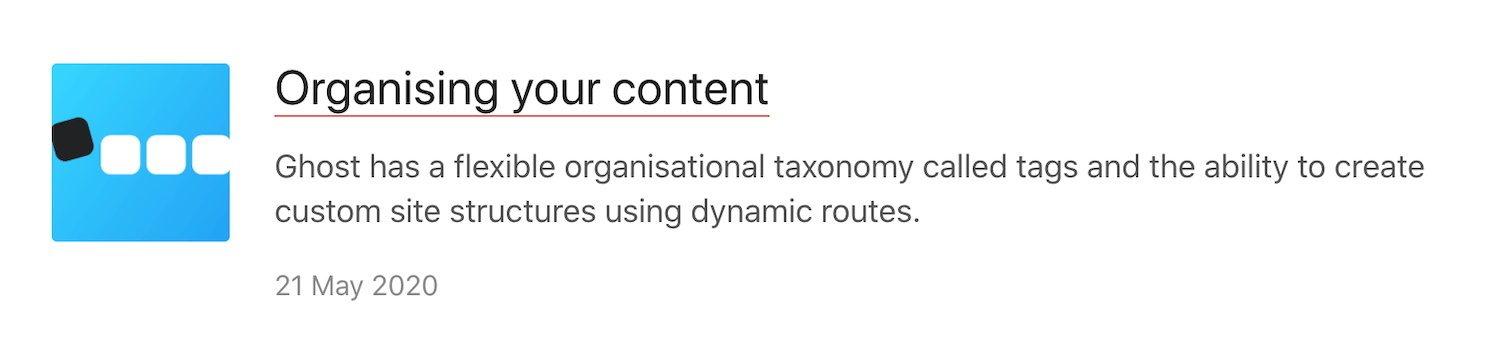
You have the ability to show and hide different content.
For this, you need to have the Substation theme folder on your computer. (You can download it from the Design page in Ghost if you have already installed it)
Hide excerpt
In post.hbs, author.hbs or tag.hbs, change show_excerpt=false to show_excerpt=false
Show author names
In post.hbs, author.hbs or tag.hbs, change show_authors=false to show_authors=true
Show post tags
In post.hbs, author.hbs or tag.hbs, change show_tags=false to show_tags=true
There is also a minimal post list layout available. This does not have any customisation; it just shows a slimmed-down list of posts with date and title.
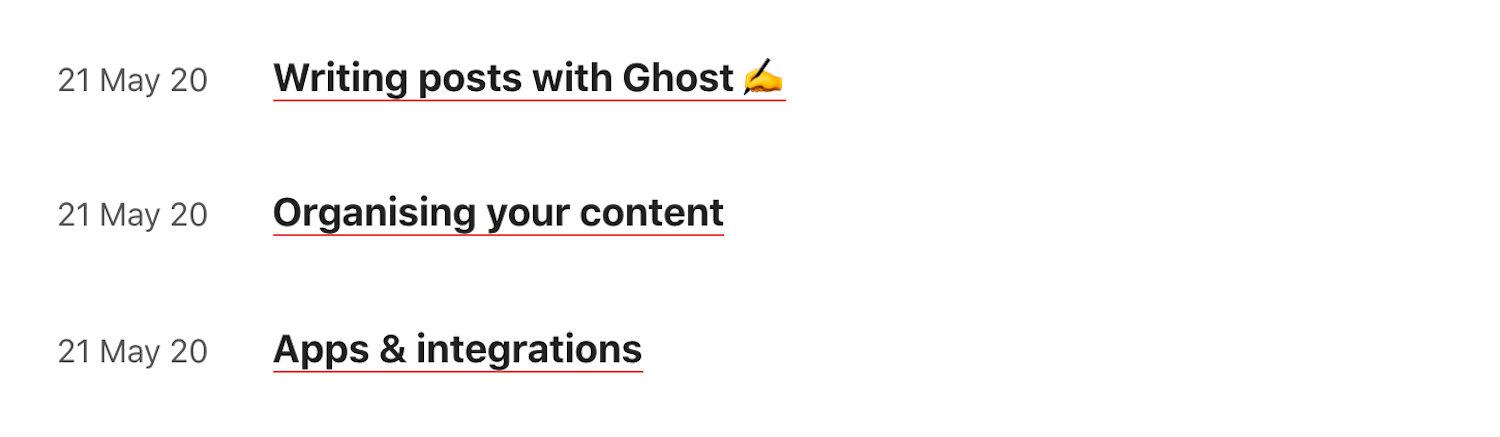
To use this change {{> "post-card" ...}} to {{> "post-card-minimal"}} in post.hbs, author.hbs or tag.hbs.
Change the size of your logo
If you have uploaded a logo into Ghost (General page), you can change how big it displays with some custom CSS.
The logo is shown in two places: the site header and homepage. By default, the header logo is 200 pixels wide and the homepage logo is 300 pixels wide. They will display nicely on any sized screen.
If you want to change the sizes, copy this codde into Code Injection > Site Header in Ghost, and modify the pixel widths.
<style>
.logo {width: 300px;} /* Homepage logo */
.head__logo .logo {width: 200px} /* Header logo */
</style>
Customise colours
The theme comes with CSS variables, which you can easily change to match your branding.
If you've got the theme folder on your computer, open assets/styles.css and edit the colours listed at the top.
By default, the variables are:
  --main: #ea4e4e;
  --main-hover: #d64242;
  --main-light: #FFF4EC;
  --box-corner-radius: 10px;
  --grey: #888;
  --light-grey: #ccc;
  --green: #a4d037;
  --red: #f05230;
The main-* colours by default are red, a darker red (hover) and a pale peach (light). They are used for buttons and box backgrounds.
The grey colours are used for text, input borders and link underlines.
--green and --red are used for member notifications.
Once you have changed the colours, use a CSS minifier (like cssminifier.com) and paste the minified CSS into styles.min.css. Then ZIP and upload the theme folder into Ghost.
You can of course create your own variables and use them throughout the theme.
Use custom fonts
You can use the code injection feature in Ghost to paste in any custom font scripts (like from Google Fonts or Adobe Fonts).
In the same place, you can add custom CSS to enable the fonts.
This is an example of using Cardo as the site's font. The following code would be pasted into Ghost at Code injection > Site Header.
<link href="https://fonts.googleapis.com/css2?family=Cardo:ital,wght@0,400;0,700;1,400&display=swap" rel="stylesheet">
<style>
body { font-family: 'Cardo', serif; }
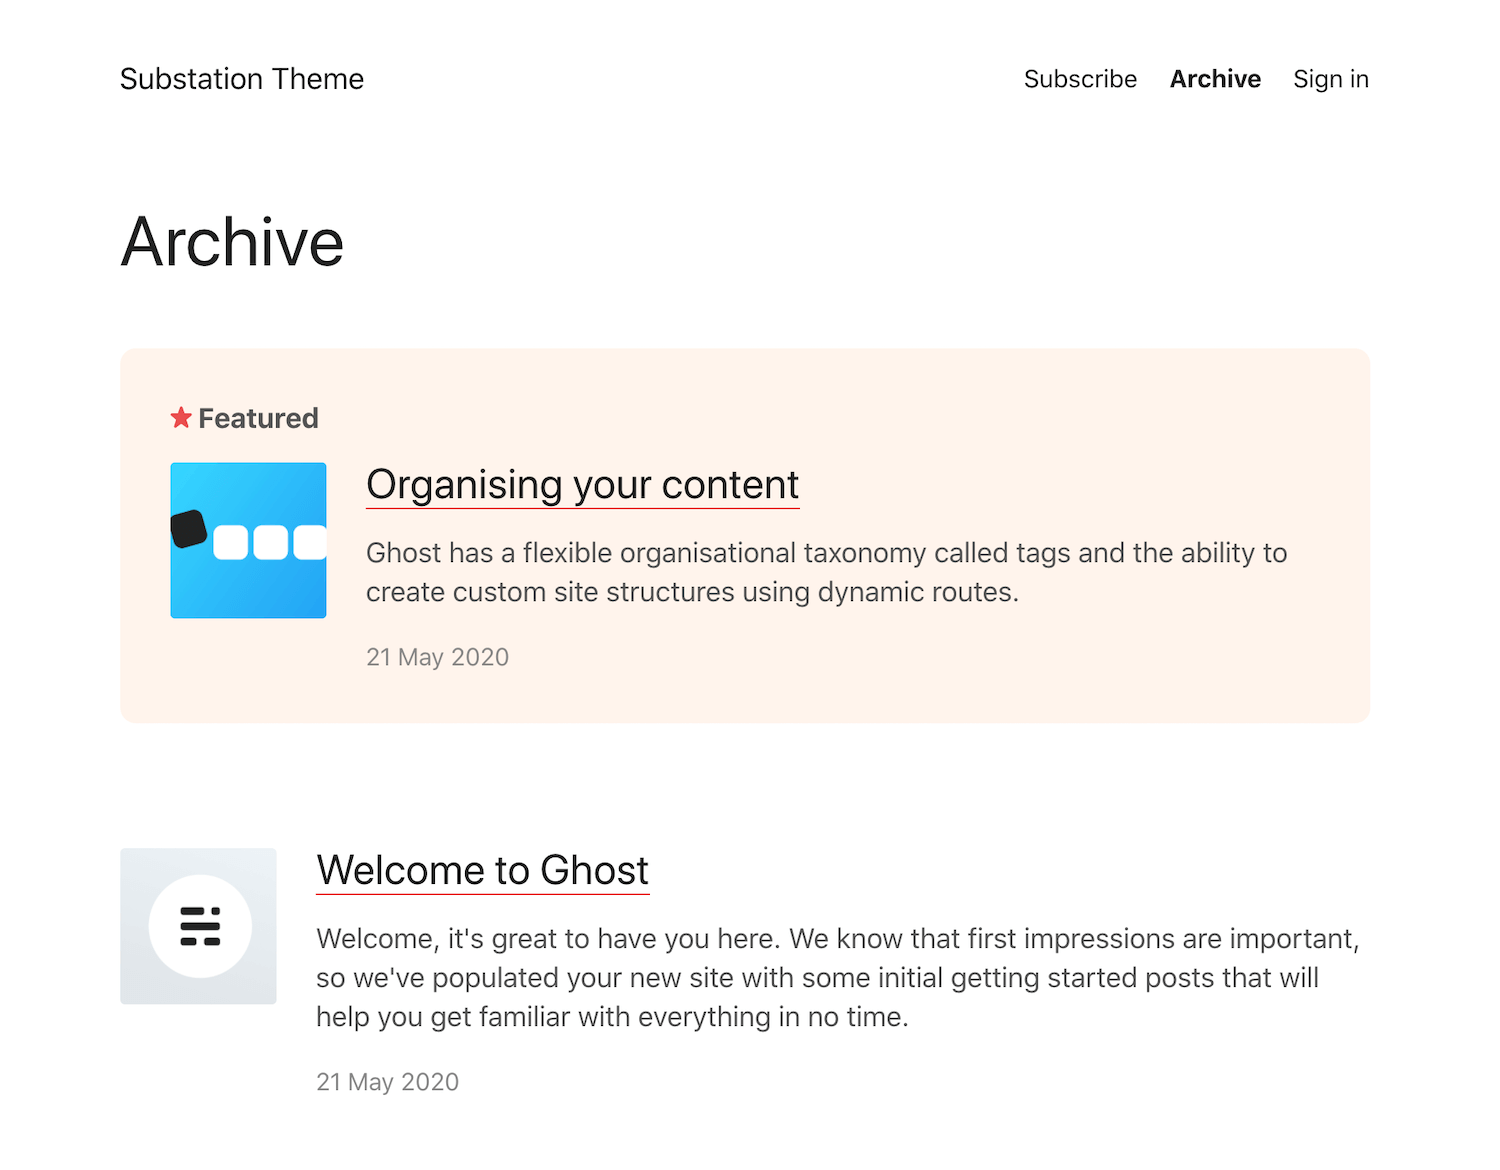
</style>Feature posts at the top of the Archive page
Use Ghost's "Feature this post" toggle. The latest-published featured post is shown at the top of the Archive page.
Change the number of posts shown per page in the Archive
In your theme folder, open package.json and edit the posts_per_page value. The default is 15.
ZIP and re-upload the theme.
Capture subscriber names during sign up
Ghost introduced the "Name" field in subscription forms in version 3.35.1 in early October 2020. Please make sure you update your Ghost site to version 3.35.1 or later, otherwise the name value will not be saved within Ghost. (If you need help with updating Ghost, please check my service Gloat)
If you have Substation v1.1.4 or later (bought on October 8, 2020 or after)
To enable the Name field, delete lines 2 and 6 in partials/subscribe-form.hbs
ZIP and re-upload the theme.
If you have Substation v1.1.3 or earlier (pre October 8, 2020)
In partials/subscribe-form.hbs, paste the following above the email field input, on a new second line.
<input type="text" class="subscribe-email" data-members-name placeholder="Your name" autocomplete="false" required>If you want to make this name field optional to your subscribers, remove `required` from the end of the input tag.
ZIP and re-upload the theme.
Translate your site
Substation does not currently come with translations, but you can easily swap out the English on the site with your own language by editing the theme files directly.
For example, to change the "Read past issues" on the homepage, open home.hbs from the downloadable theme ZIP and replace the text with your own words. Then ZIP the theme and upload it into Ghost again.
35: <p class="mt4 fsmedium"><a href="/archive/">Read past issues →</a></p>How to
How to send a newsletter and hide it from the web archive (eg a weekly digest)
Use a "private" tag for email-only posts. A private tag in Ghost starts with a # character. Something like #newsletter is perfect. Make sure you add your tag to any email-only post you publish.
To hide these posts from your site, you need to edit code in index.hbs. On line 16, change this:
{{#foreach posts visibility="all"}}to this:
{{#foreach posts visibility="all" filter="tags:-#newsletter"}}Note the -#newsletter. This tells Ghost not to include any posts tagged with #newsletter.
How to add email-only content with Email Cards
The Email card in Ghost's editor allows you to add content that only shows in the email version of a post. This content will never be shown in the web version.
When creating a post, click the (+) icon (or type /) and select "Email" from the options.
Version history
v1.1.5 • November 14, 2020Better Updated footer.
v1.1.4 • October 8, 2020New Support for the new subscriber name field in the newsletter subscribe form, added in Ghost 3.35.1.
v1.1.3 • September 7, 2020Better Pagination was added to tag index pages.Better Page title positioning was made consistent with index pages.
v1.1.2 • July 8, 2020Fixed Member-only posts can now be featured.
v1.1.1 • June 30, 2020Better Removed "minimal" post layout as the default on the Archive page.Better Added post layout options in Author template.
v1.1.0 • June 16, 2020New Support for Markdown tables.Better Improved styling for blockquotes.Better Improved support for gallery blocks.Better Minified CSS.
v1.0.0 • June 10, 2020
Initial launch.